Understanding Design Thinking: A User-Centered Innovation Approach
Innovation isn’t just about solving problems – it’s about understanding and empathizing with the people who experience them. Design thinking is more than a methodology; it’s a mindset that places the user at the core of the design process. This human-centric approach is crucial in UX design and product development, where grasping the nuances of users’ needs, behaviors, and emotions leads to truly effective and innovative solutions. By following a structured stages of design thinking, teams can create products that not only address challenges but also forge deeper connections with their target audience.
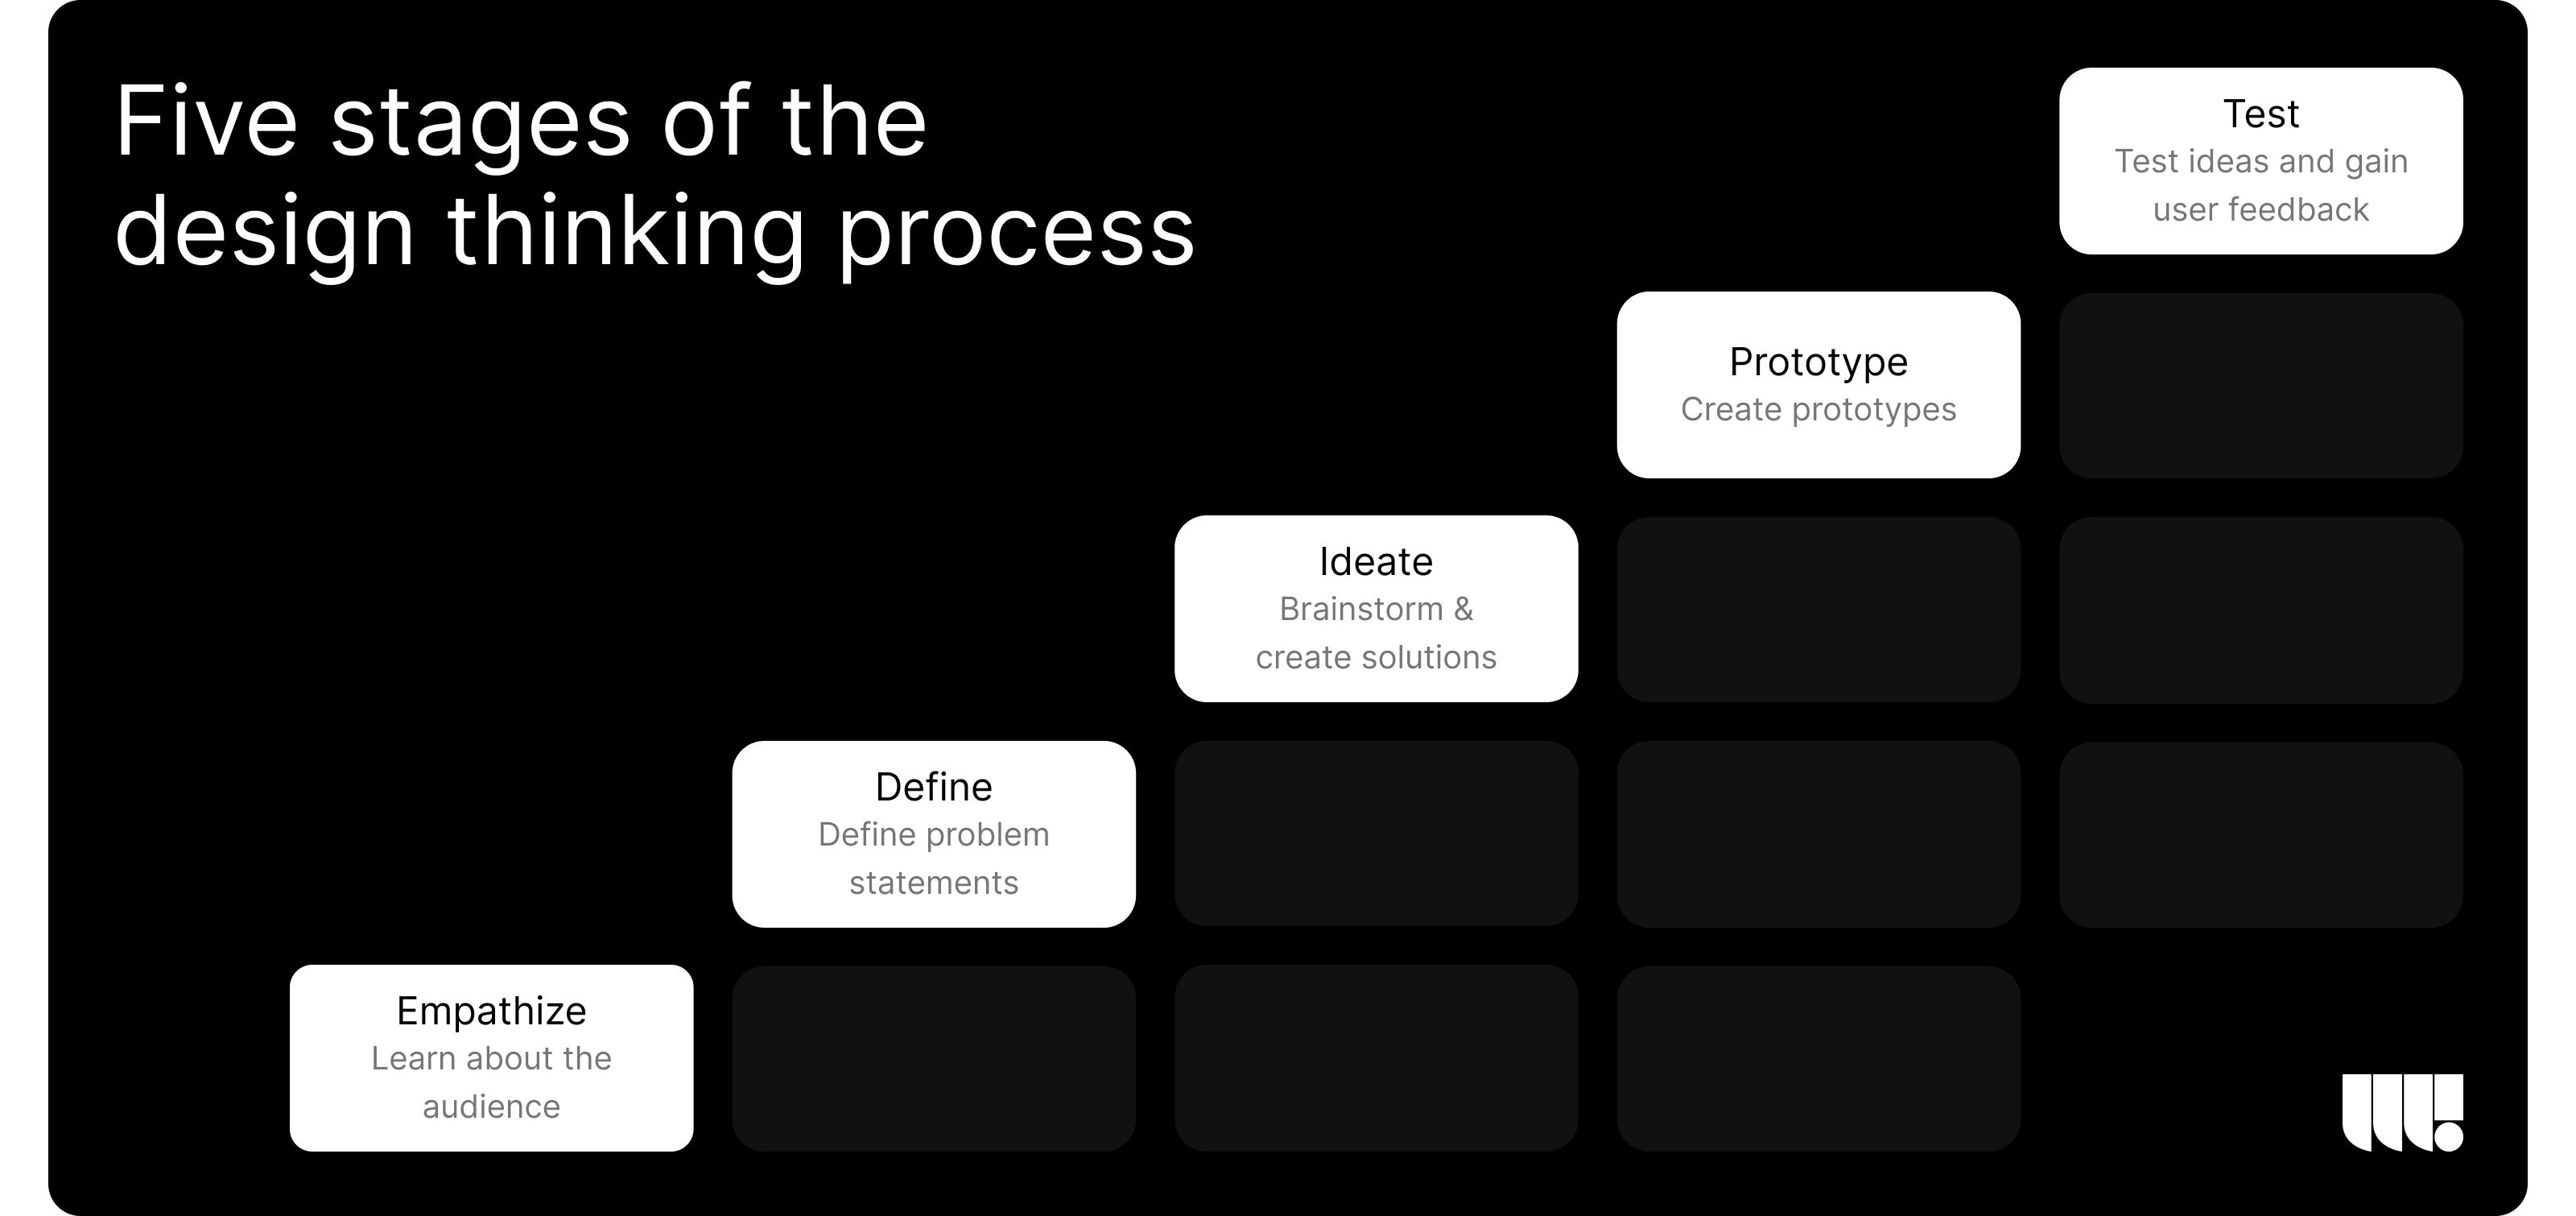
Step 1: Empathize – Deeply Understanding Your Users
Empathy is the bedrock of design thinking. This initial stage is all about immersing yourself in the users’ world to genuinely understand their experiences and challenges. By seeing through their eyes, you set the foundation for solutions that truly resonate.
Conduct In-Depth User Research:
- Interviews: Engage with users in detailed interviews to explore their experiences, pain points, and desires. Ask open-ended questions that encourage users to share stories and insights that go beyond surface-level observations.
- Observations: Spend time observing users in their natural environment—whether it’s at home, at work, or while interacting with a product. Observing users in context can reveal behaviors and challenges that might not be captured in interviews or surveys.
- Surveys and Questionnaires: Deploy surveys to gather data from a broader audience. These tools can help identify trends and patterns in user behavior, providing quantitative insights that complement qualitative UX research service.
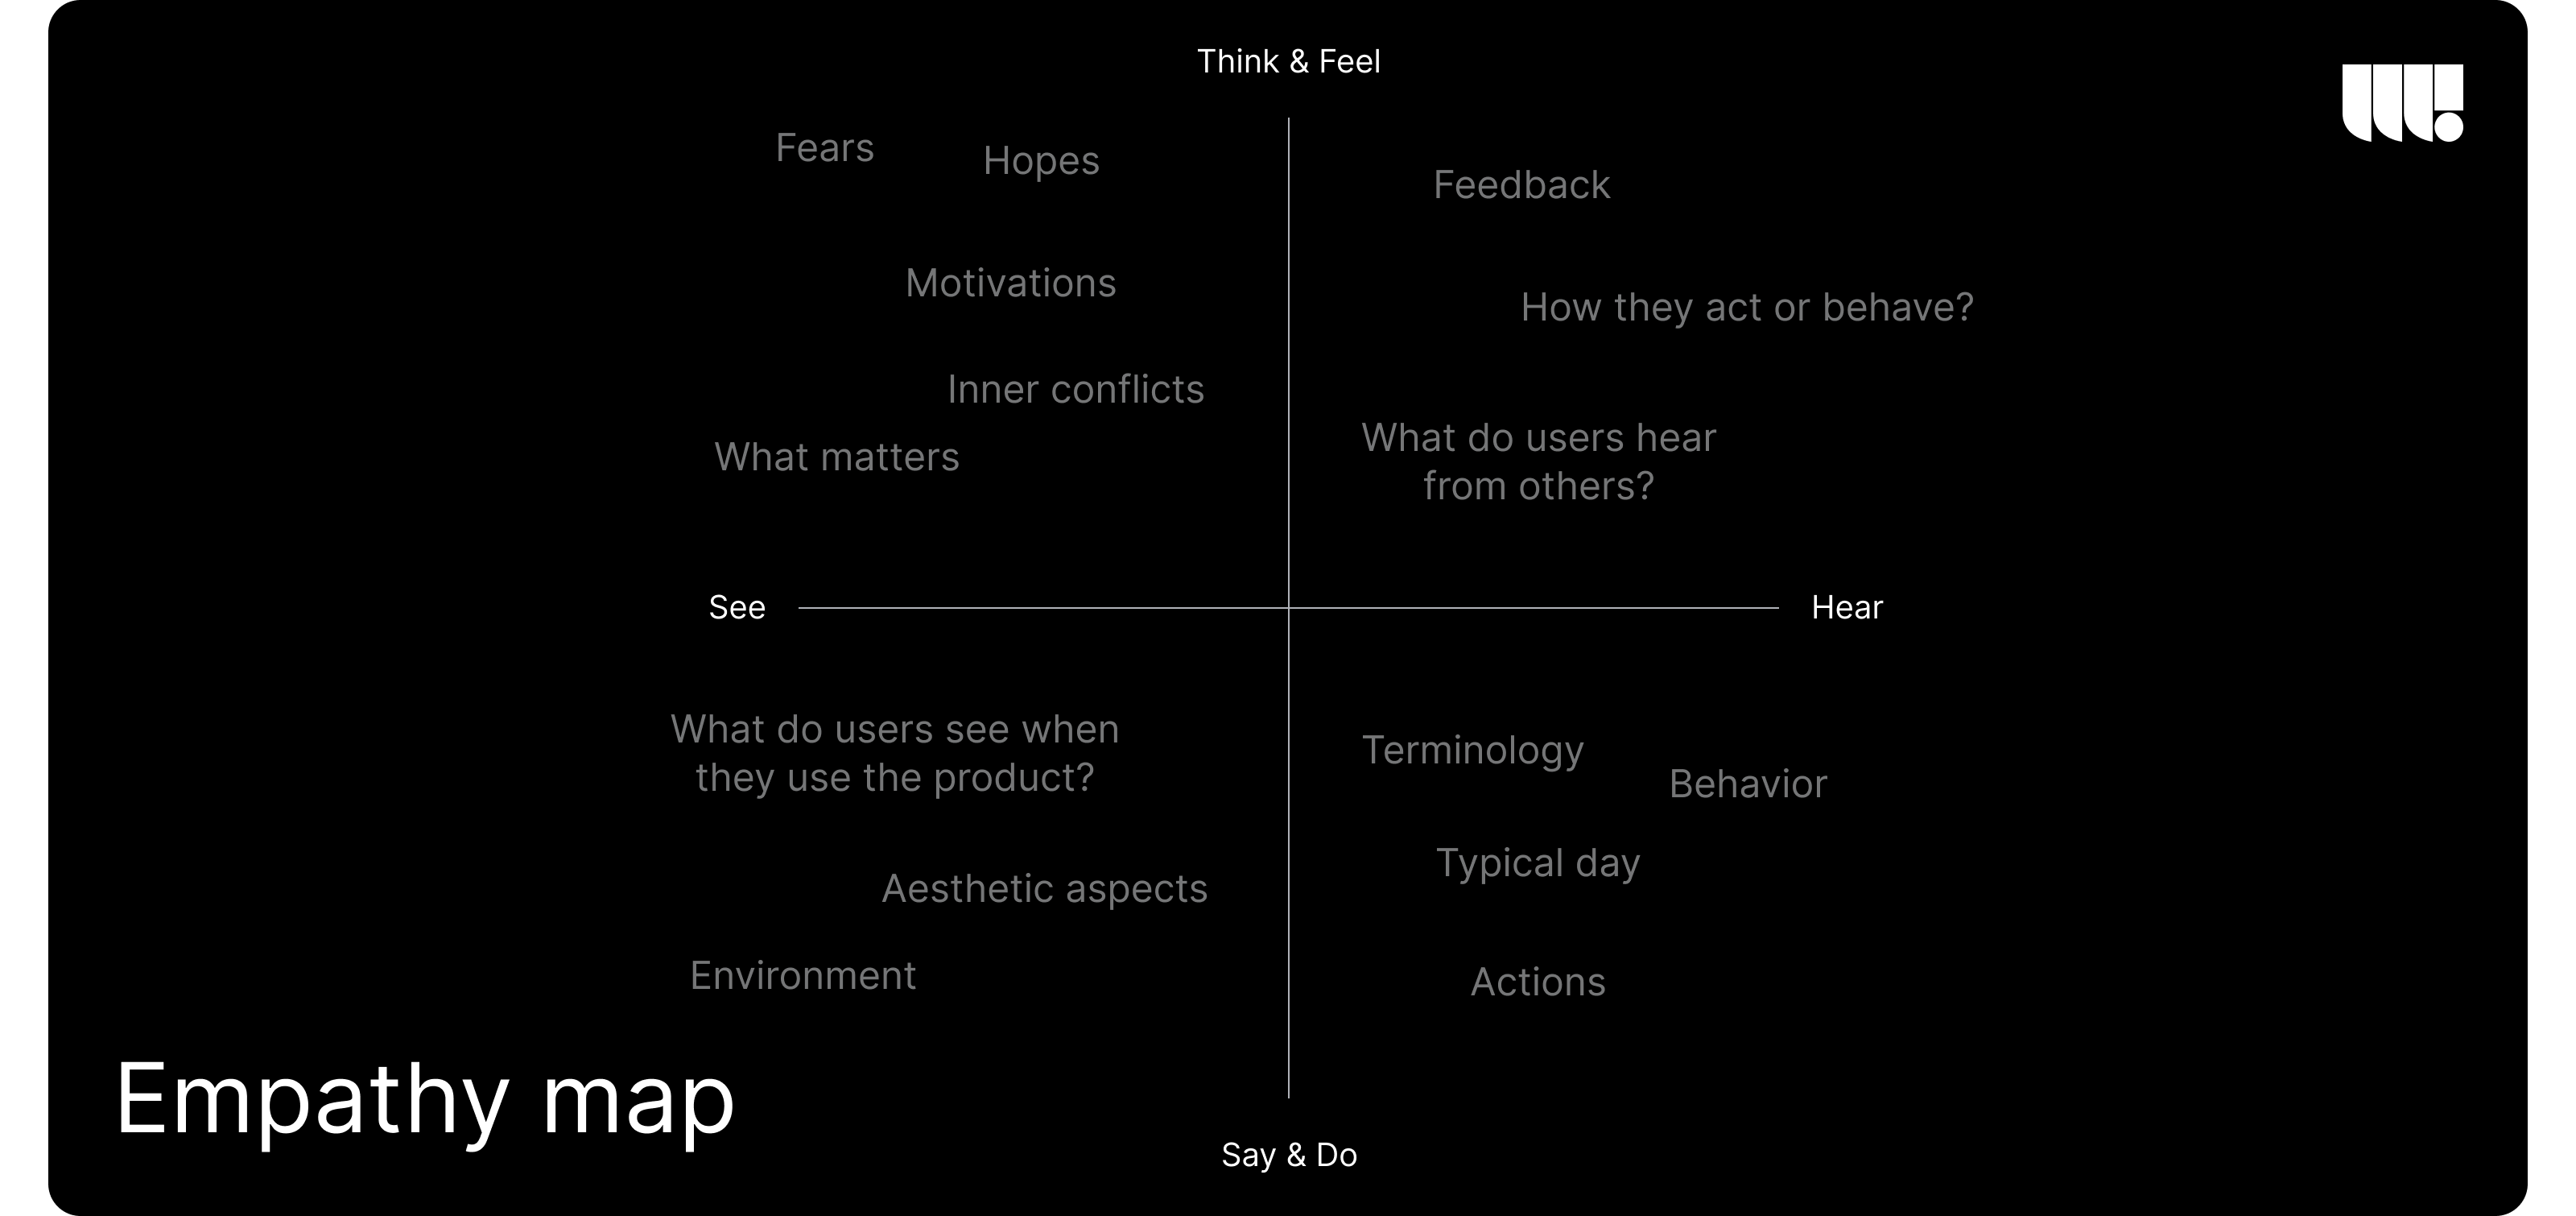
Create Empathy Maps:
- Visualizing User Perspectives: Develop empathy maps that represent what users think, feel, say, and do. This tool helps teams visualize the user’s world and identify key emotional drivers that influence their decisions and behaviors.
- Identifying Pain Points and Needs: Use the empathy map to pinpoint specific challenges and needs that users experience. Understanding these pain points allows teams to focus their efforts on the most impactful areas.
Identify Core Challenges:
- Synthesize Insights: After gathering data, synthesize the findings to identify the most pressing challenges users face. Look for recurring themes and patterns that highlight the core issues.
- Focus on High-Impact Areas: Prioritize challenges that have the greatest impact on user satisfaction and engagement. These are the areas where your design efforts can make the most difference.
Step 2: Define – Clarifying the Core Problem
After gaining a deep understanding of your users, the next step is to clearly define the problem you aim to solve. The define stage is about synthesizing the empathy findings into a clear and actionable problem statement that will guide the rest of the design process.
Craft a Precise Problem Statement:
- User-Centric Language: Formulate a problem statement that is concise and centered on the user’s needs. For example, “Busy professionals need a way to quickly prepare healthy meals because they often lack the time to cook after a long workday.”
- Avoid Assumptions: Ensure the problem statement is based on actual user research and not assumptions. It should reflect a genuine need that has been validated through user insights.
Establish Clear Design Objectives:
- Define Success Metrics: Identify what success looks like for your project. These metrics could include improved user satisfaction scores, reduced task completion times, or increased engagement.
- Align with Strategic Goals: Ensure that the design objectives align with broader business goals, such as enhancing brand loyalty, increasing sales, or expanding market reach.
Share your project idea with us! If our partnership isn't the right fit, we're happy to provide valuable insights that could still benefit you.
Review and Analyze Existing Solutions:
- Competitive Benchmarking: Analyze existing solutions in the market to understand their strengths and weaknesses. This helps you identify opportunities for differentiation and innovation.
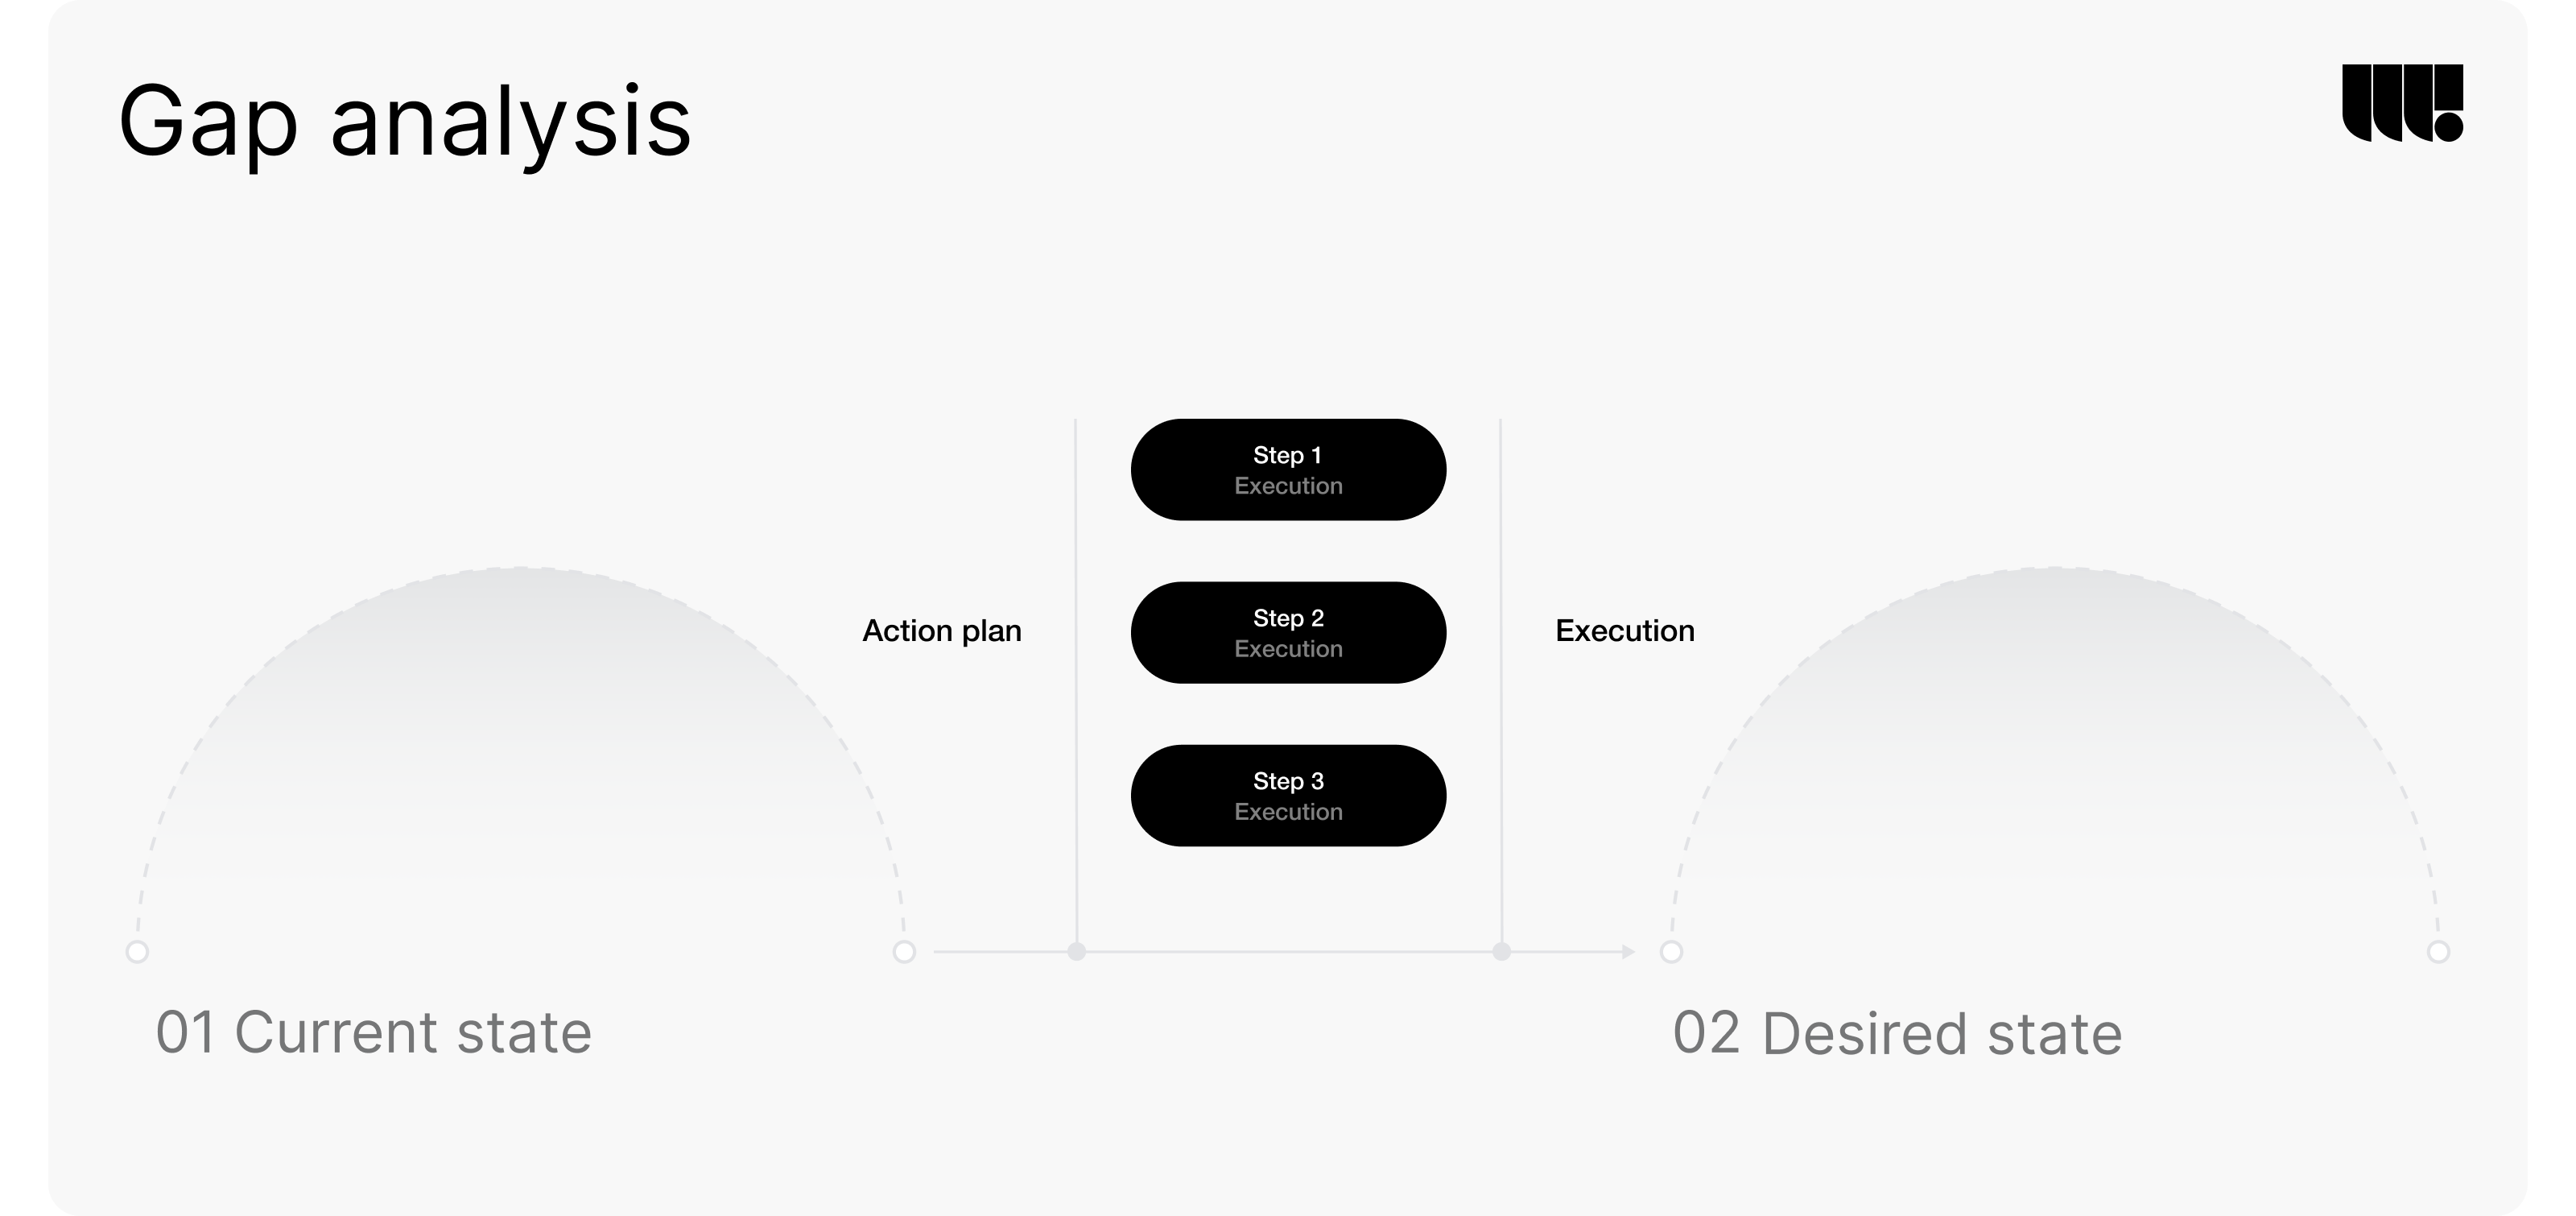
- Gap Analysis: Identify gaps in the current solutions that your product can fill. This analysis will help you position your solution uniquely and effectively in the marketplace.
Step 3: Ideate – Generating Diverse and Creative Ideas
Ideation is where creativity flourishes. In this stage, teams generate a wide range of ideas and potential solutions, exploring all possibilities without judgment. The goal is to think broadly and creatively, ensuring that no potential solution is overlooked.
Host Collaborative Brainstorming Sessions:
- Encourage Divergent Thinking: Facilitate sessions where team members are encouraged to think outside the box. Divergent thinking allows the team to explore a broad range of ideas, even those that may seem unconventional at first.
- No Idea Is Too Wild: In the early stages of brainstorming, encourage team members to share any idea, no matter how impractical it might seem. Sometimes, the most innovative solutions come from the most unexpected ideas.
Utilize a Variety of Ideation Techniques:
- Mind Mapping: Use mind maps to visually organize ideas and explore their relationships. This technique helps teams see connections between different concepts and identify potential areas for innovation.
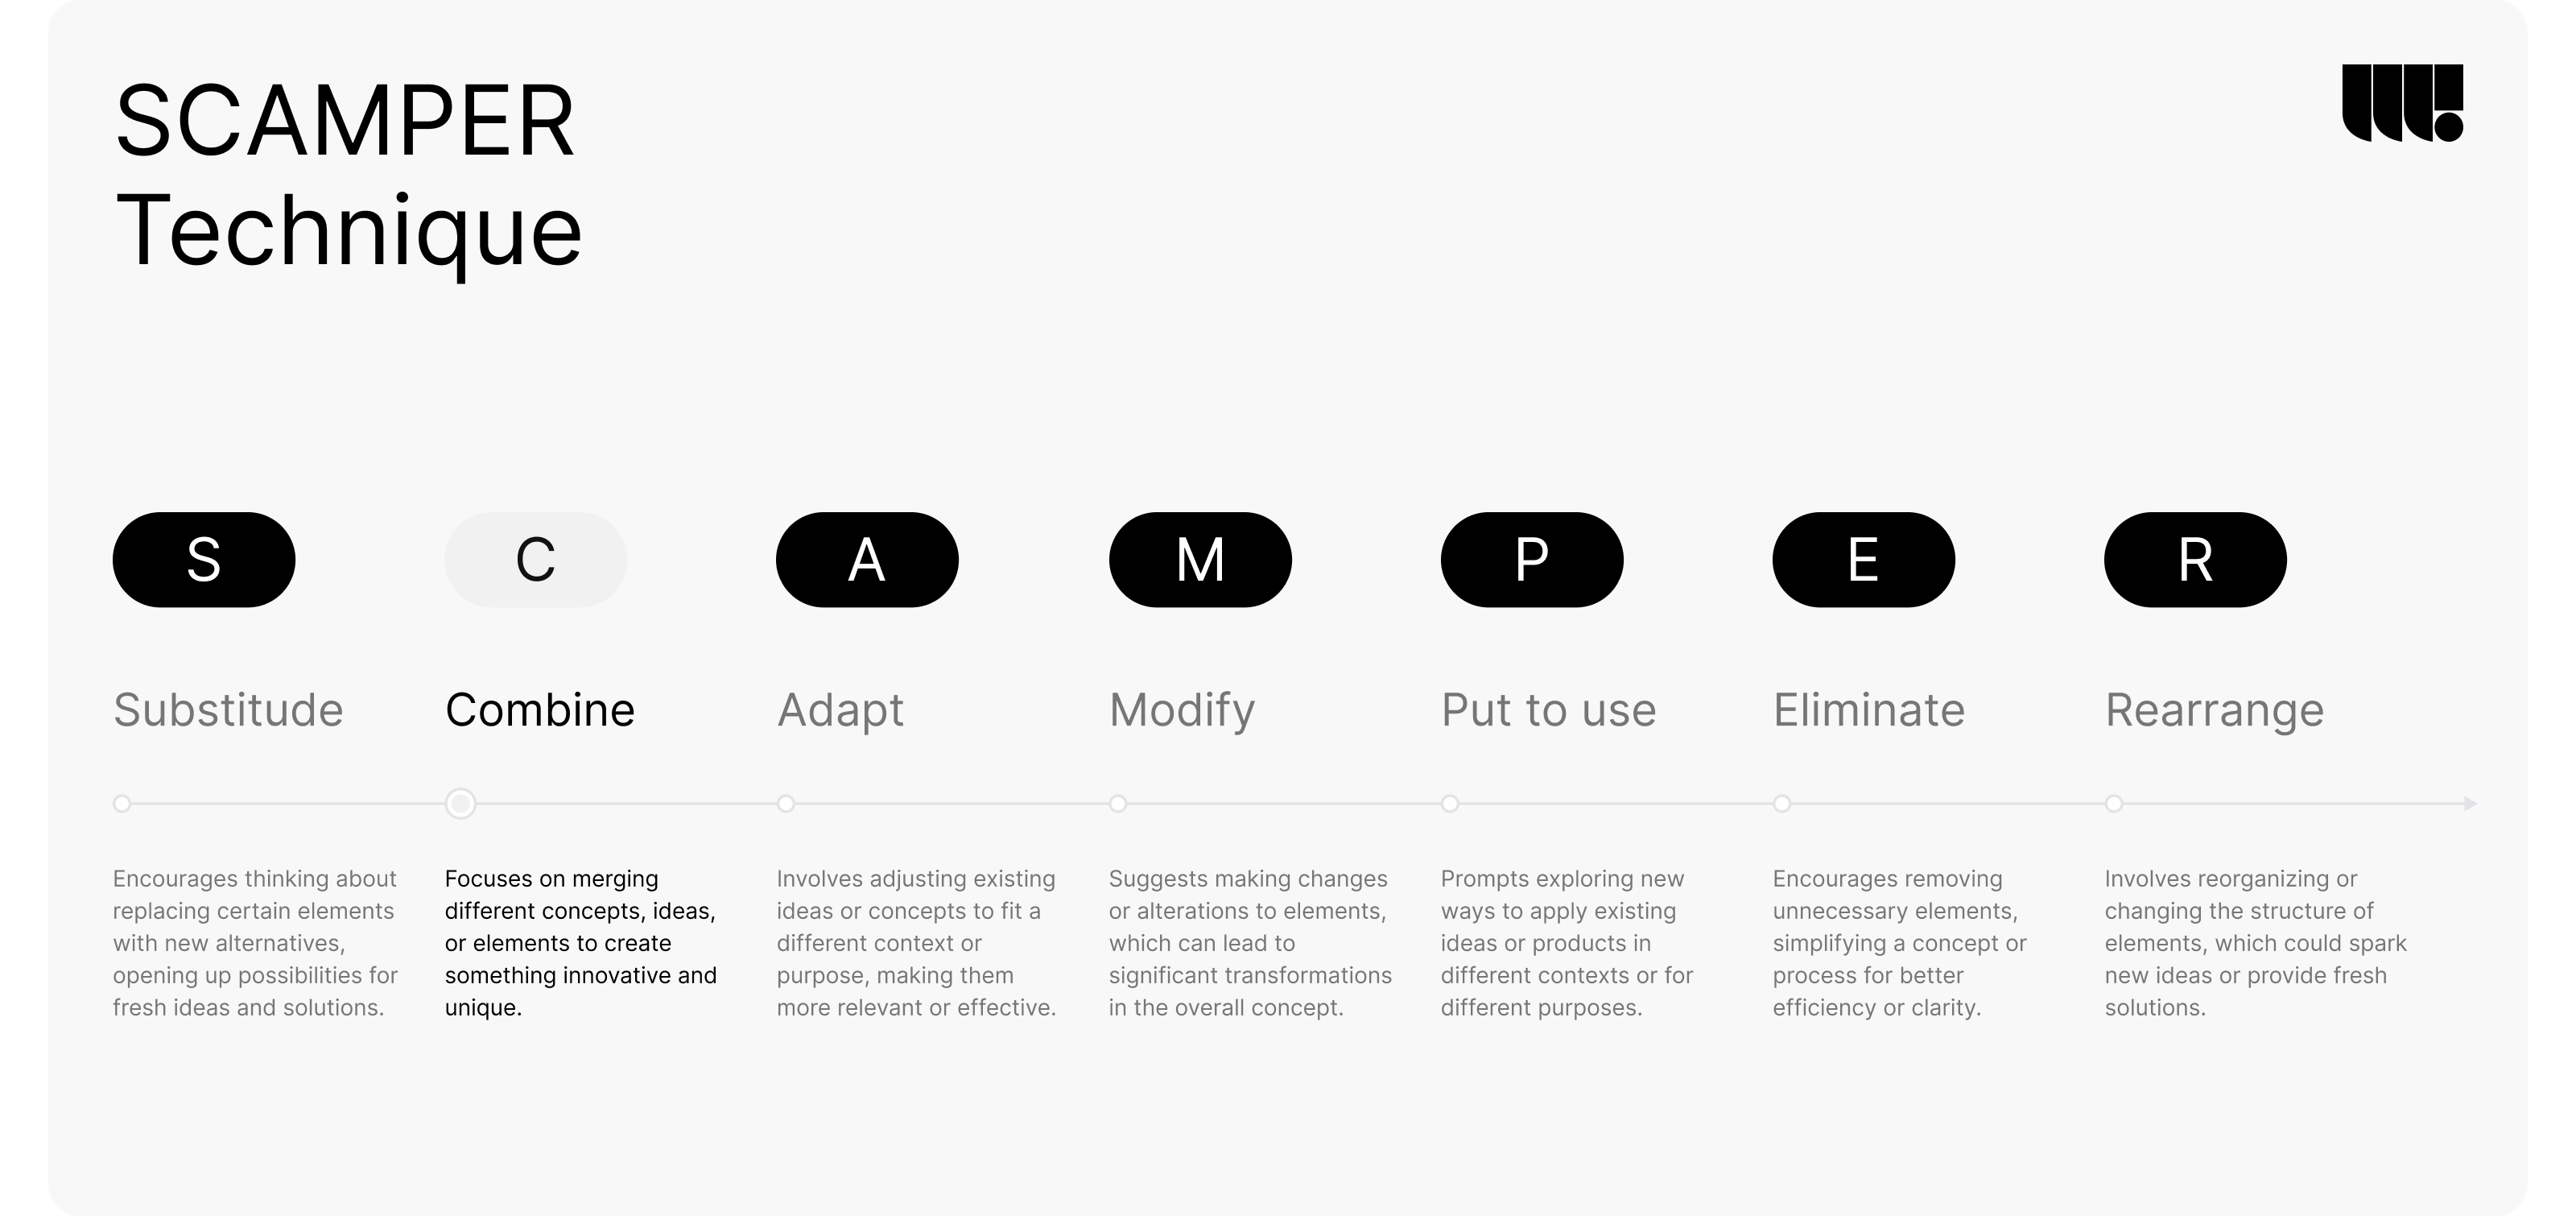
- SCAMPER Method: Apply the SCAMPER method to existing ideas to explore how they can be improved or repurposed. This involves asking questions like, “What can we substitute, combine, adapt, modify, put to another use, eliminate, or reverse?”
- Brainwriting: In addition to traditional brainstorming, try brainwriting, where team members write down ideas individually before sharing them with the group. This can help generate ideas from more introverted team members who might hesitate to speak up in a group setting.
Evaluate and Prioritize Feasible Ideas:
- Feasibility Assessment: After generating ideas, assess each one for feasibility based on factors such as technical capability, budget constraints, and time requirements.
- Impact vs. Effort Matrix: Use an impact vs. effort matrix to prioritize ideas that offer the greatest benefit with the least effort. This helps teams focus on solutions that are both innovative and practical.
Step 4: Prototype – Transforming Ideas into Tangible Concepts
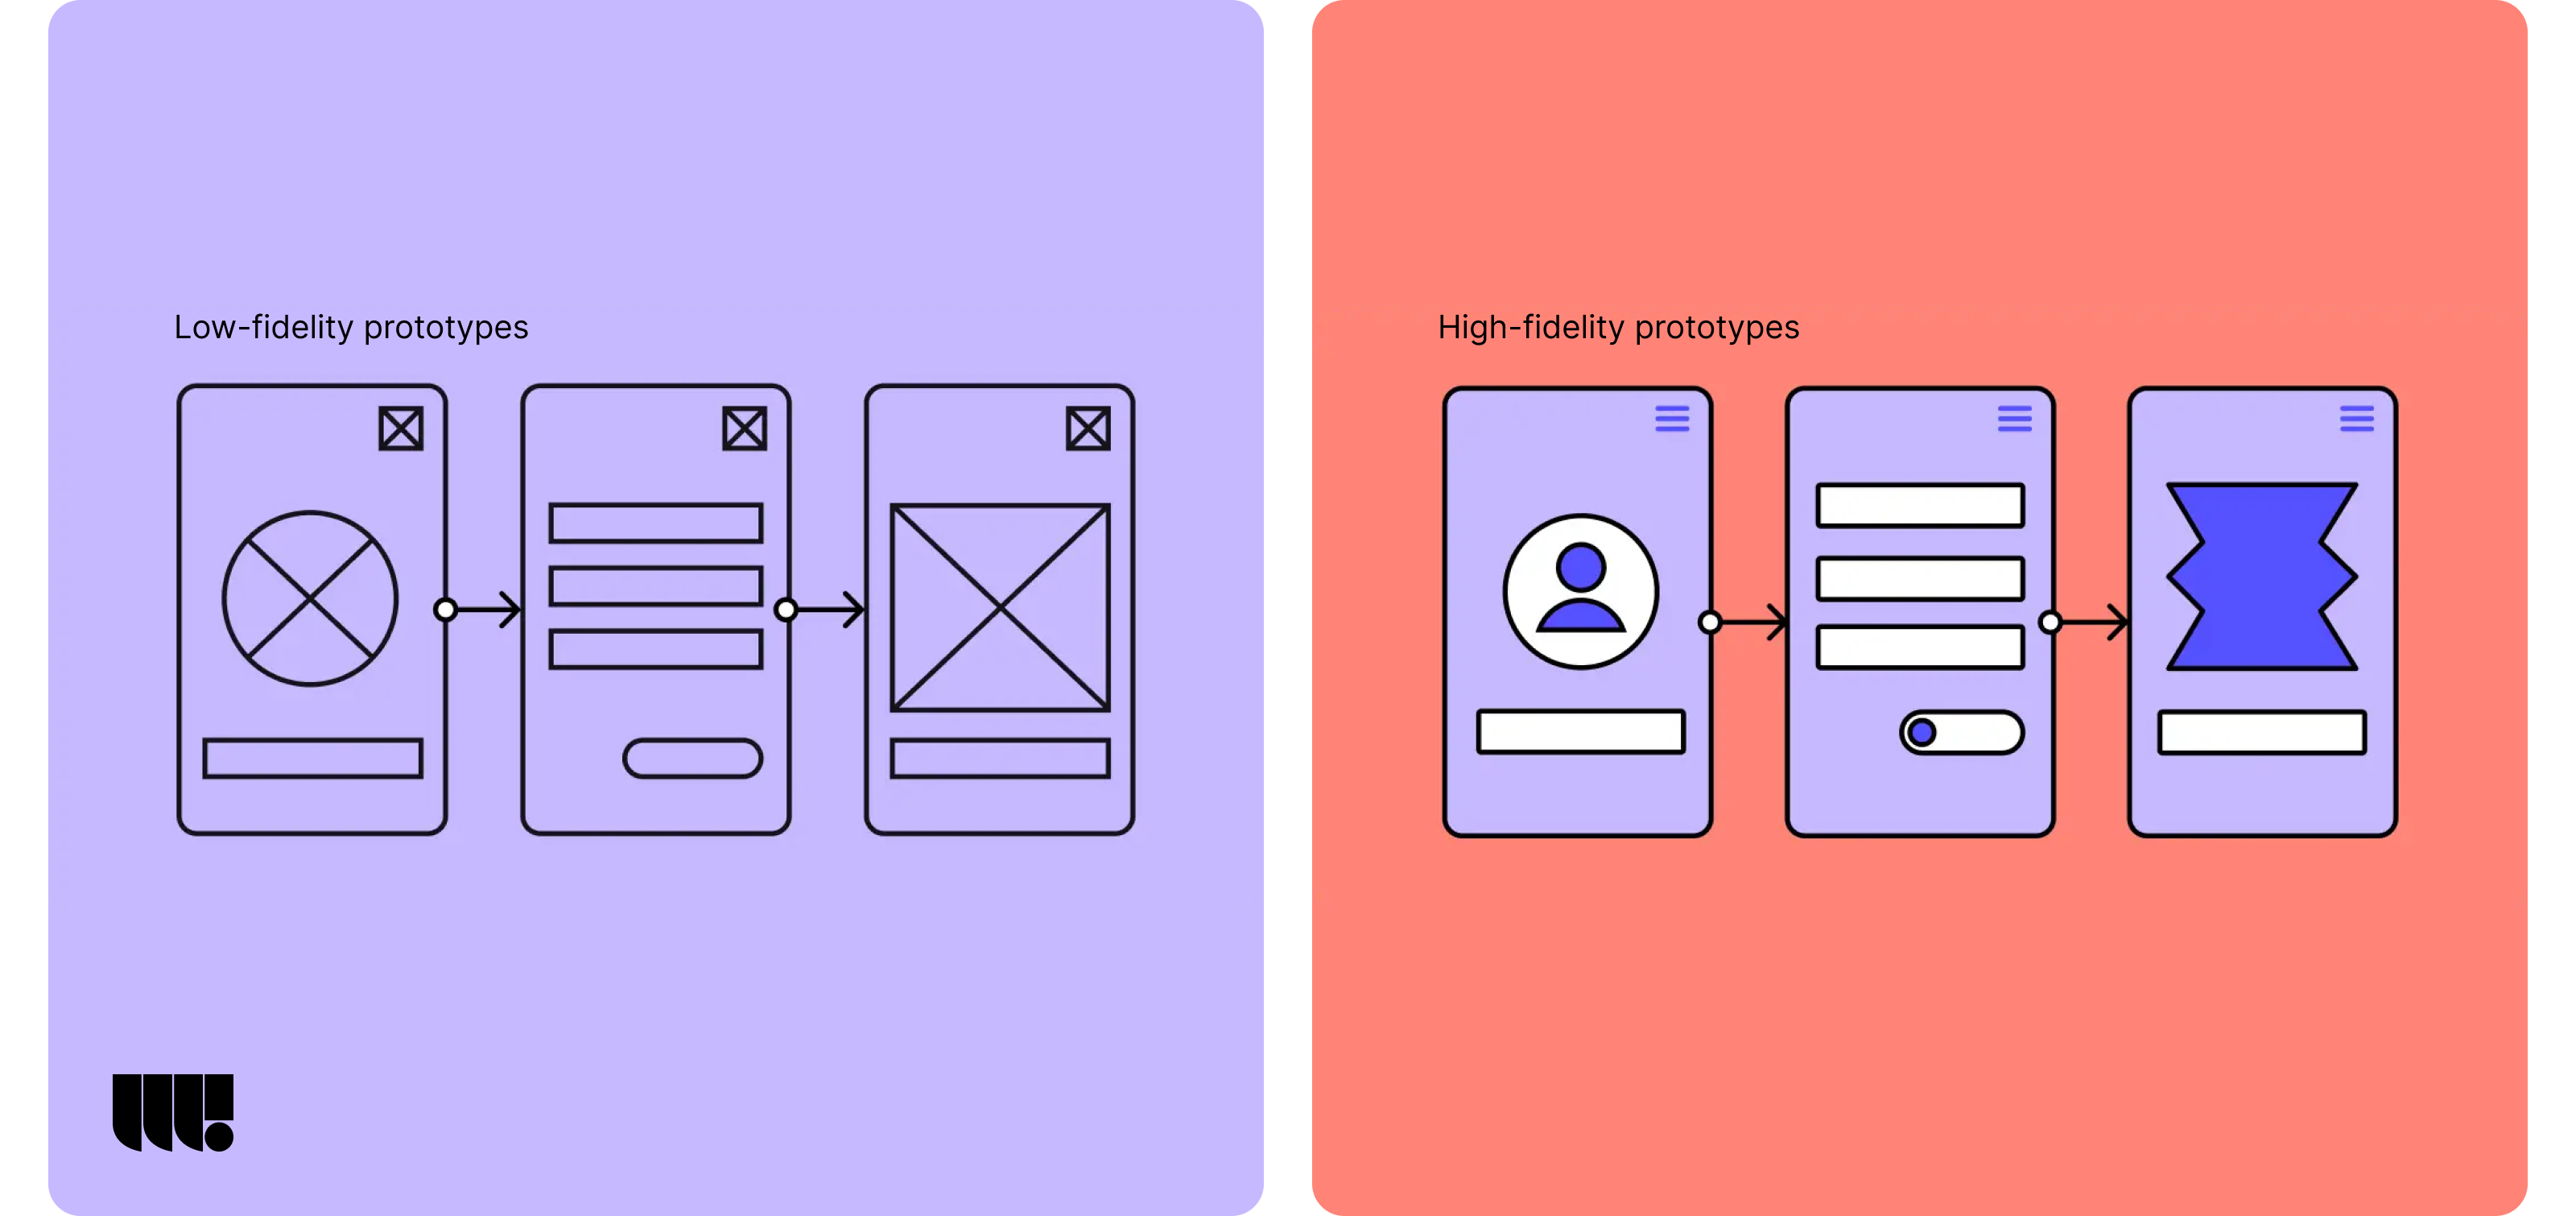
Prototyping is where ideas begin to take form. This stage involves creating tangible representations of your ideas, which can range from simple sketches to fully interactive models. Prototypes allow teams to test and refine their ideas quickly and cost-effectively.
Develop Low-Fidelity Prototypes:
- Focus on Core Features: Start with low-fidelity prototypes that emphasize the core features and functionalities of the solution. These might include paper sketches, wireframes, or clickable digital prototypes.
- Speed Over Perfection: The goal of low-fidelity prototyping is to quickly bring ideas to life and gather feedback. Don’t worry about making the prototype perfect—focus on testing the key concepts.
Iterate and Refine Prototypes Based on Feedback:
- Gather User Feedback Early: Involve users in the prototyping stage as early as possible. Their feedback will provide insights into what works and what needs improvement.
- Rapid Iteration: Make quick adjustments to the prototype based on user feedback. The iterative nature of prototyping allows teams to refine their ideas continuously until they meet user expectations.
Advance to High-Fidelity Prototypes:
- Incorporate Realistic Elements: As the concept becomes more refined, develop high-fidelity prototypes that include more detail and interactivity. These prototypes should closely resemble the final product.
- Test in Realistic Scenarios: Use high-fidelity prototypes to test the solution in scenarios that mimic real-world use. This helps identify any remaining usability issues or technical challenges before moving to full development.
Step 5: Test – Validating the Solution Through User Feedback
Testing is the final stage of the design thinking process, where prototypes are evaluated by real users to gather feedback and validate the solution. This stage is critical for identifying any remaining issues and ensuring that the final product meets user needs and expectations.
Conduct Real-World Testing Scenarios:
- Simulate Real-Life Use Cases: Test the prototypes in scenarios that closely resemble how the product will be used in real life. This might include testing on different devices, under various network conditions, or in different environments.
- Diverse User Groups: Ensure that the testing includes a diverse group of users who represent different segments of your target audience. This helps ensure the solution works well for all potential users.
Collect Comprehensive and Actionable Feedback:
- Quantitative Metrics: Track quantitative metrics such as task completion rates, time to complete tasks, and error rates. These metrics provide objective data on how well the prototype performs.
- Qualitative Insights: Gather qualitative feedback from users about their experience with the prototype. This might include open-ended questions about what they liked, what they found confusing, and what improvements they would suggest.
- Usability Testing: Conduct formal usability tests to identify any usability issues that might hinder the product’s effectiveness. This could involve observing users as they interact with the prototype and noting any difficulties they encounter.
Refine the Final Product Based on Test Results:
- Incorporate User Feedback: Use the insights gathered during testing to make final adjustments to the product. This might involve redesigning certain features, improving navigation, or addressing any technical issues.
- Final Validation: Before moving to full production, conduct one last round of testing to ensure that all issues have been resolved and that the product is ready for launch.


